
Step 01: Slide on Elastic Bands

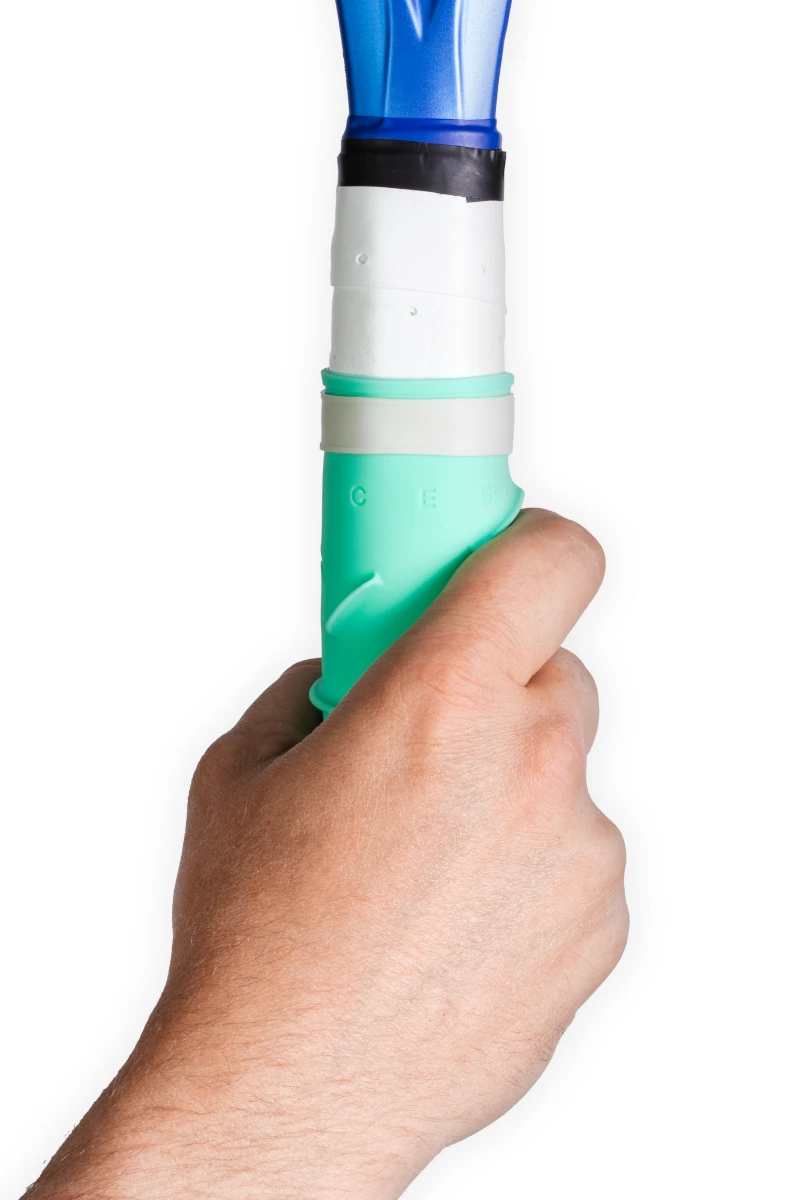
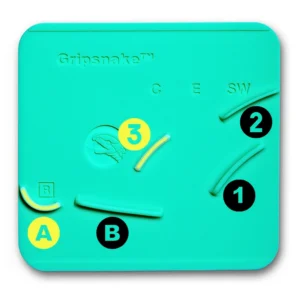
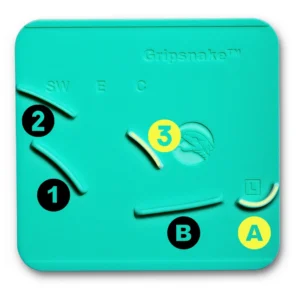
Step 02: Horizontal Alignment
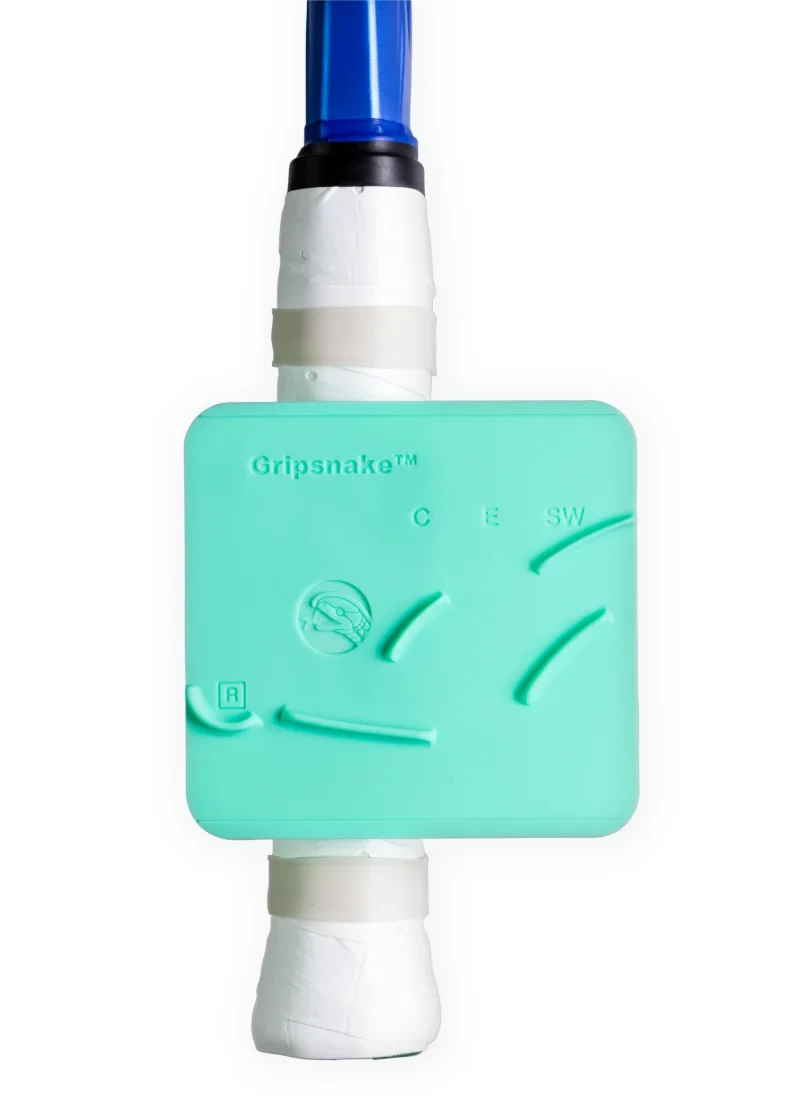
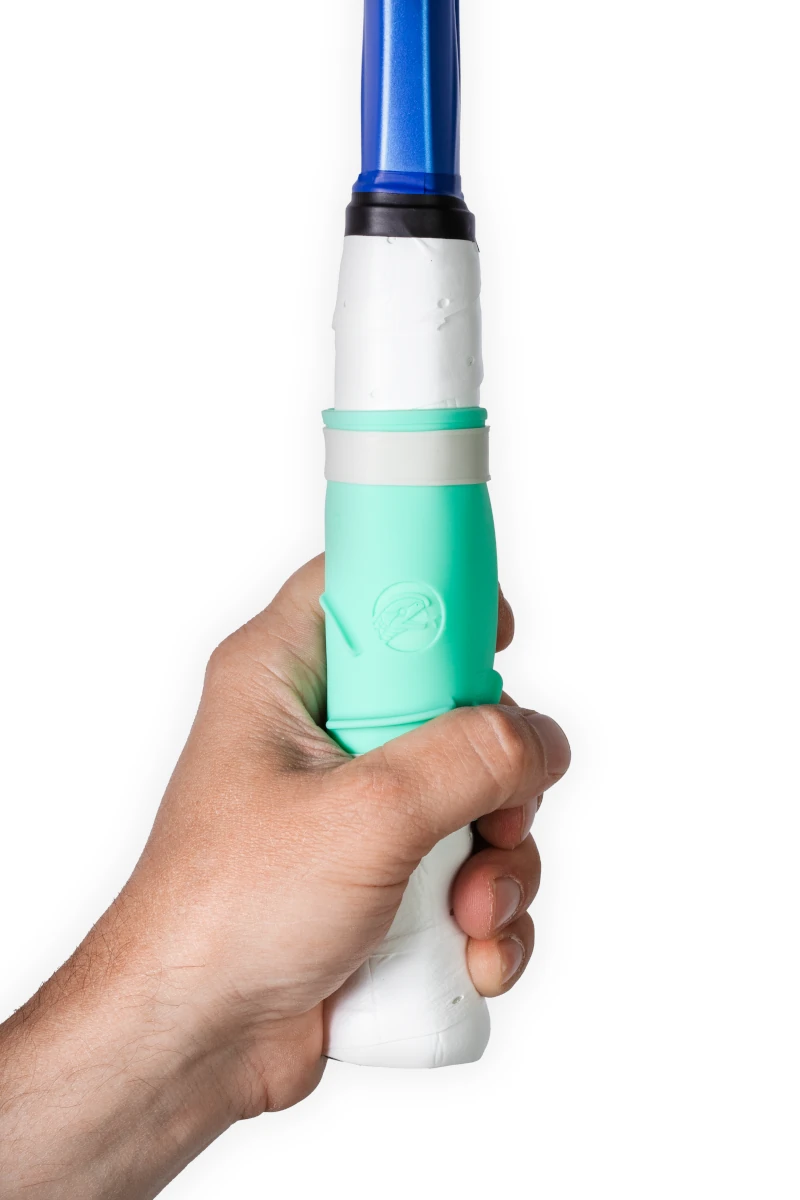
Right-Handed
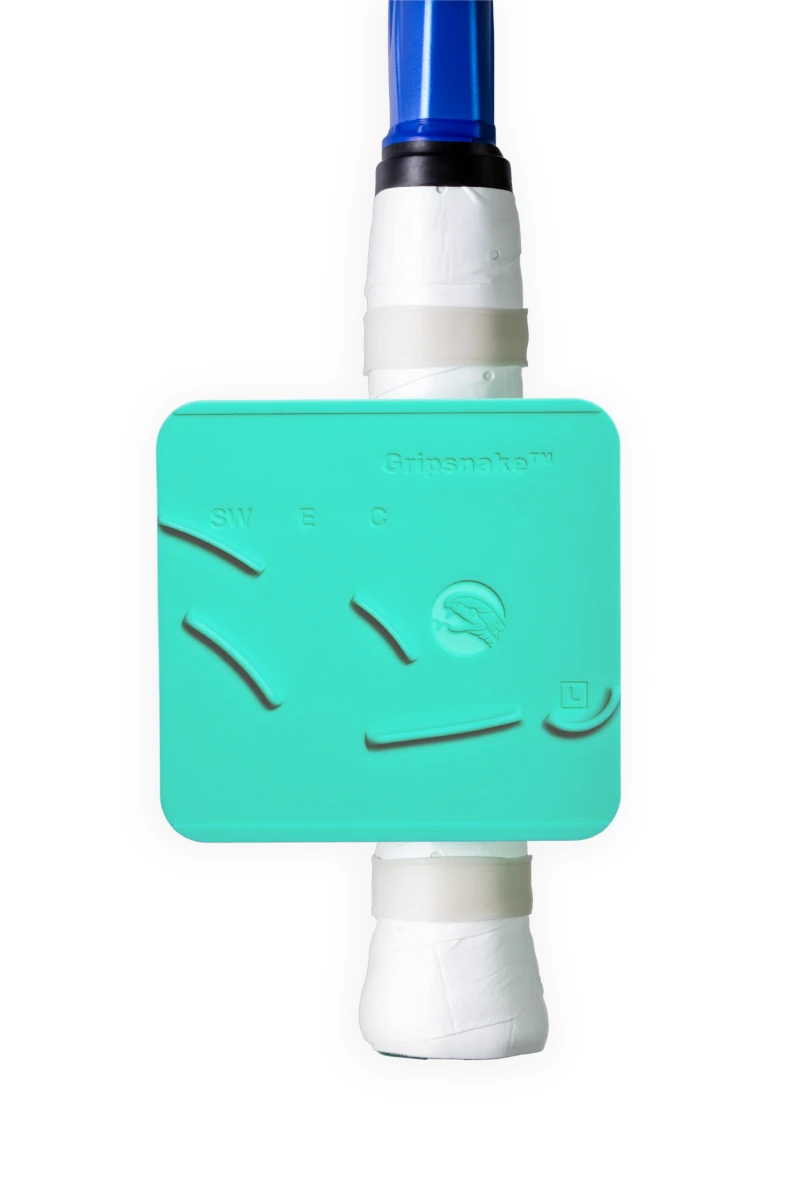
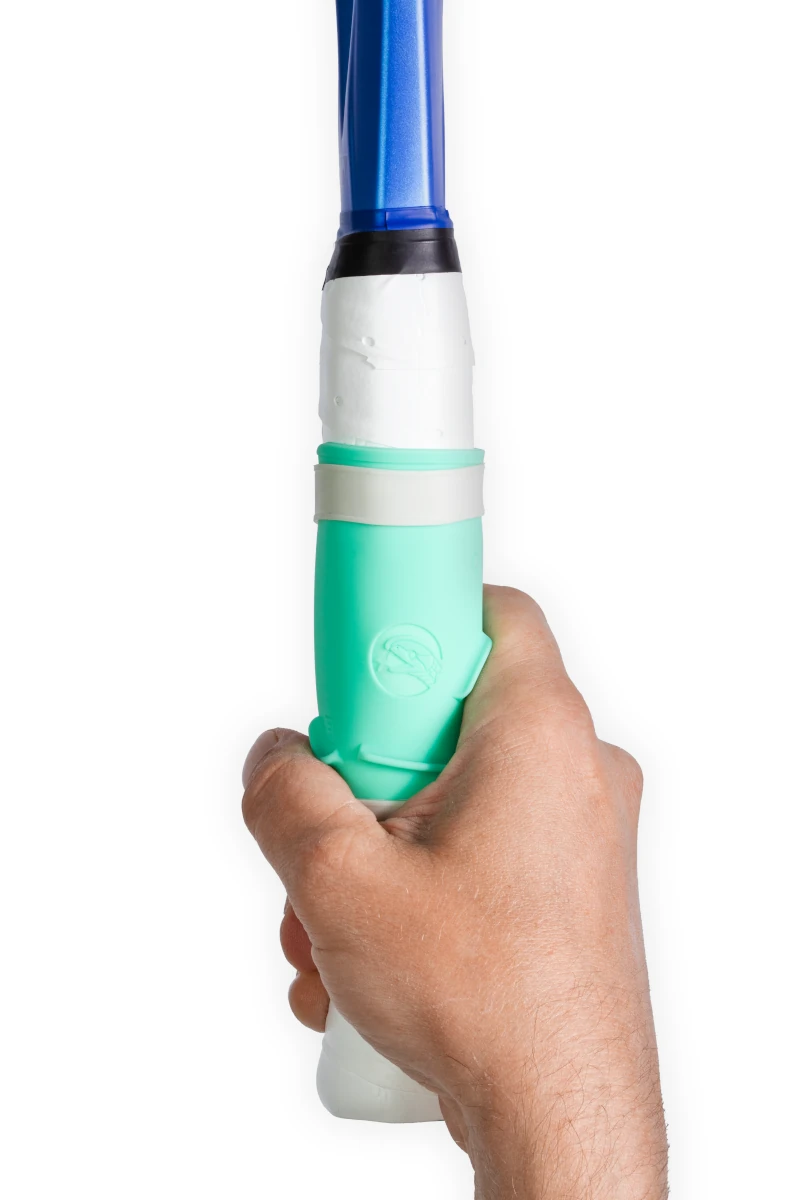
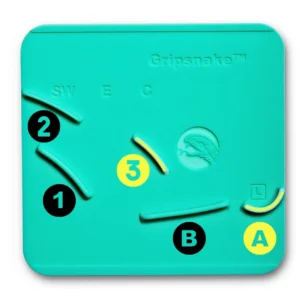
Left-Handed
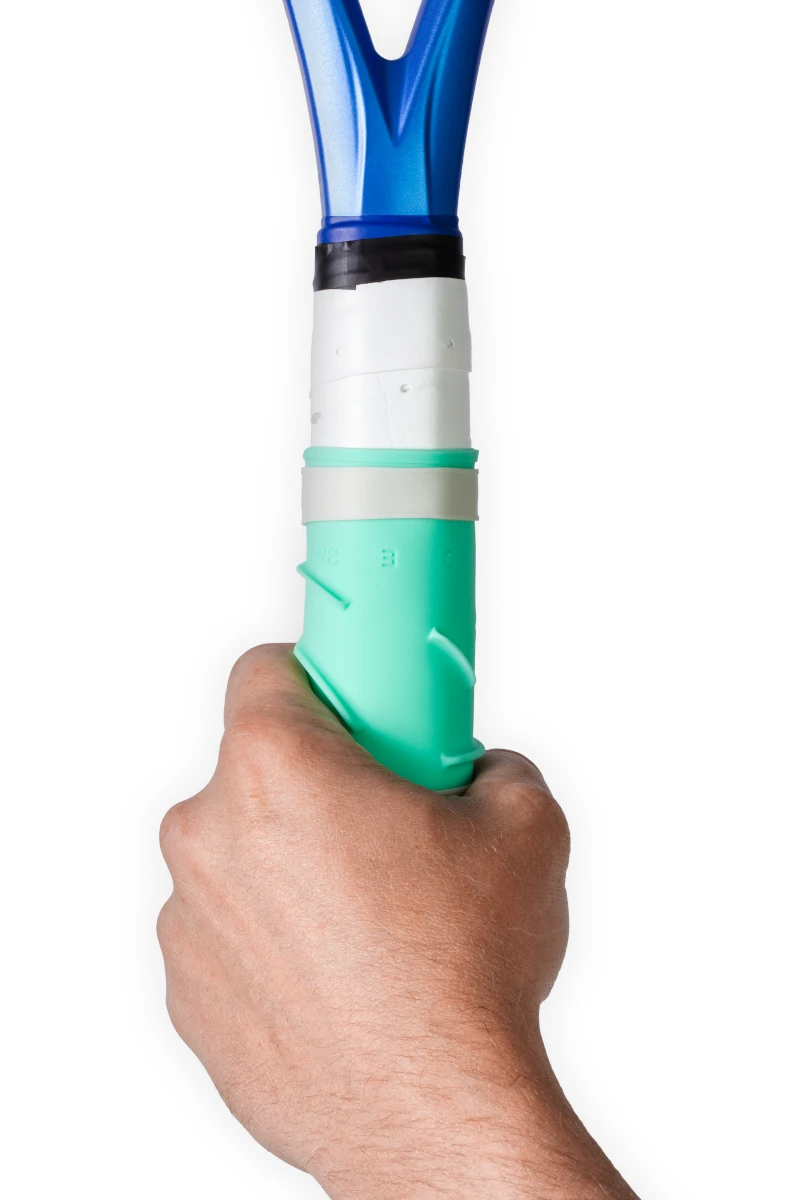
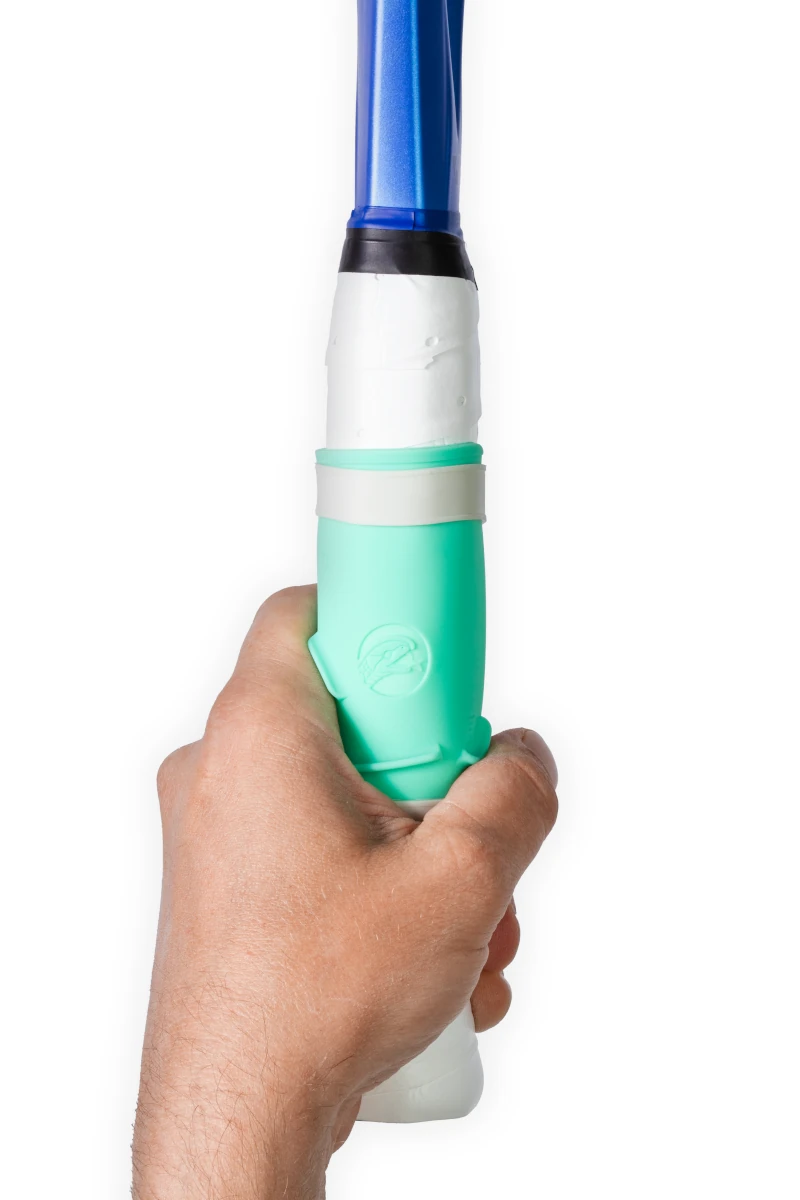
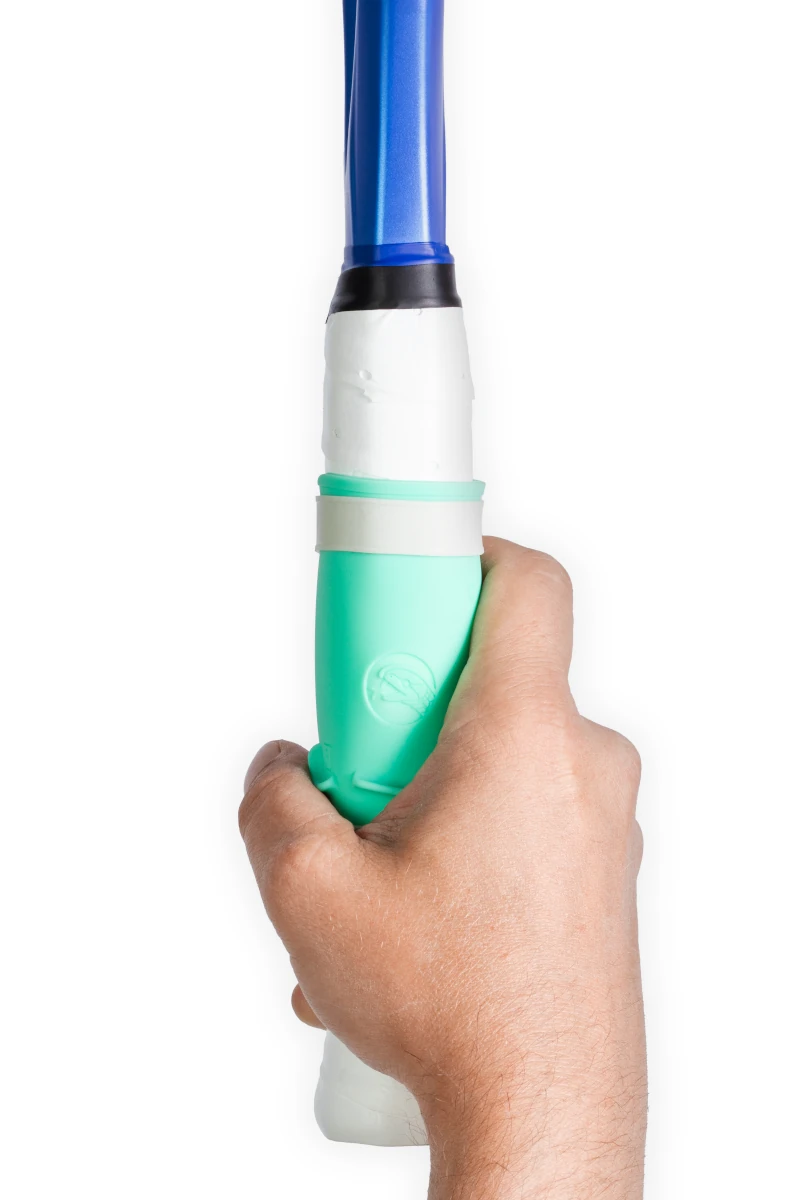
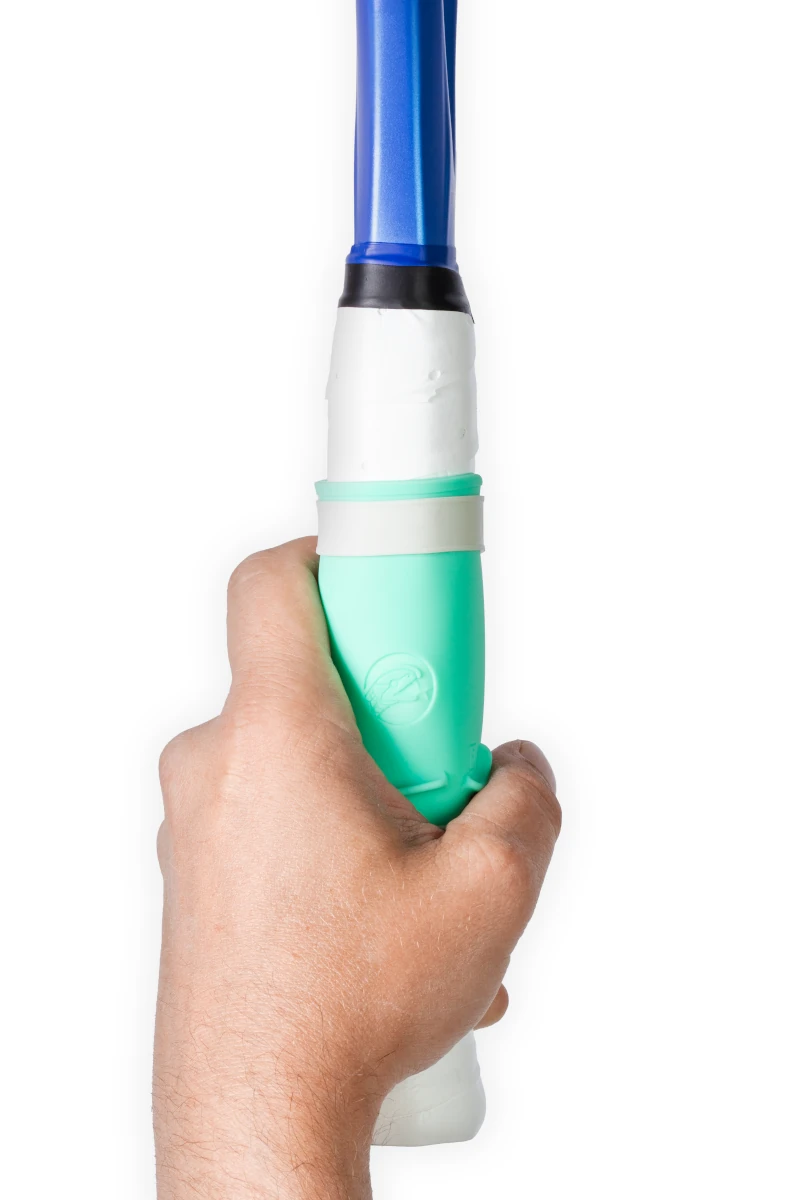
Step 03: Vertical Alignment
Right-Handed
Left-Handed

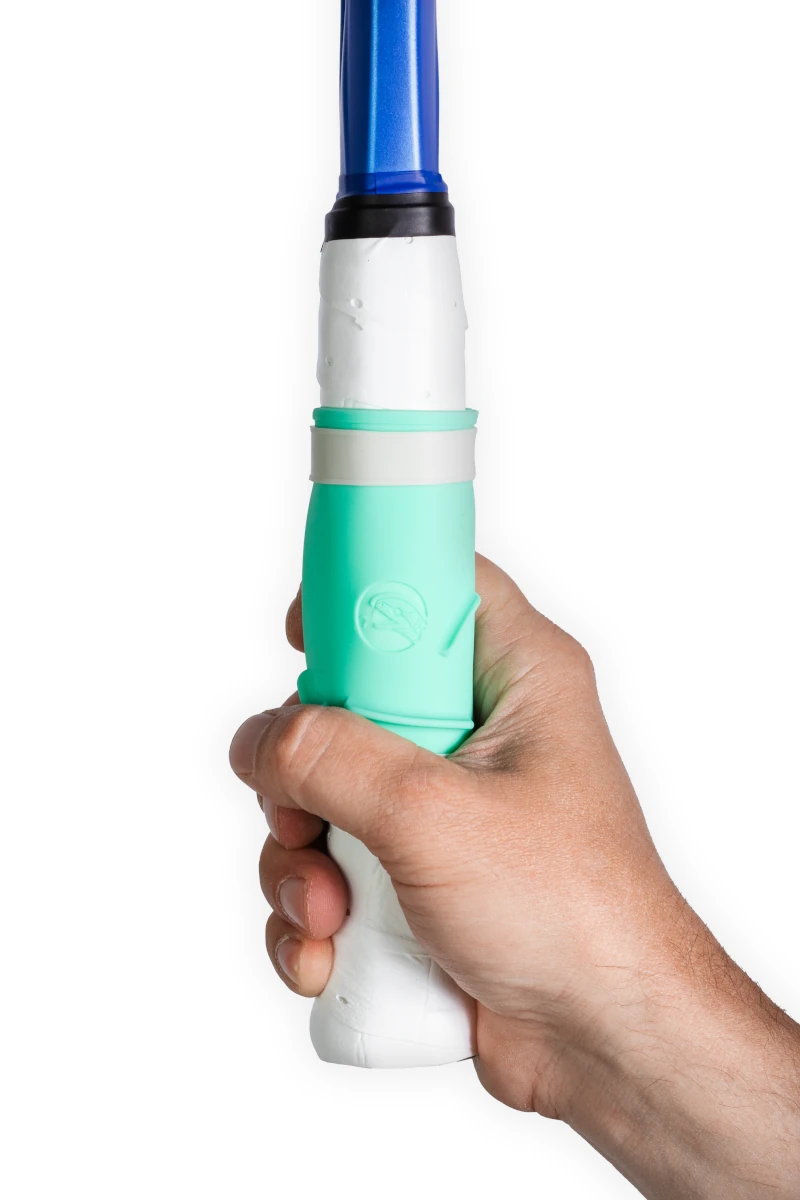
Step 04: Secure with Bands
Right-Handed
Left-Handed
Introduction
Right-Handed
Left-Handed
Semi-Western Forehand
Right-Handed
Left-Handed
Eastern Forehand
Right-Handed
Left-Handed
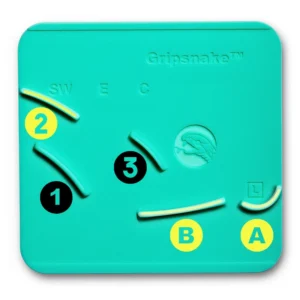

Continental Grip
Right-Handed

Left-Handed
Eastern Backhand
Right-Handed
Left-Handed
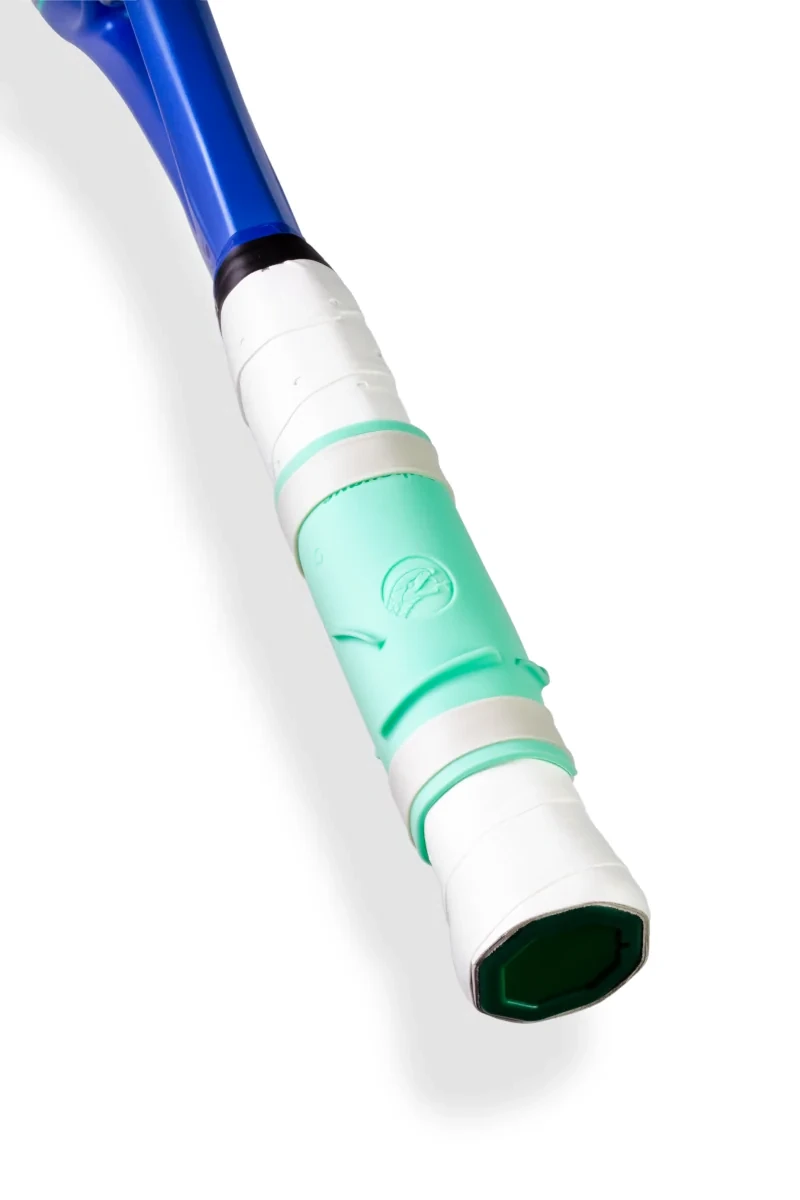
Gripsnake is an innovative silicone training aid that wraps around your tennis racket handle. It helps you learn or improve hand positioning for all important grips used in modern tennis.
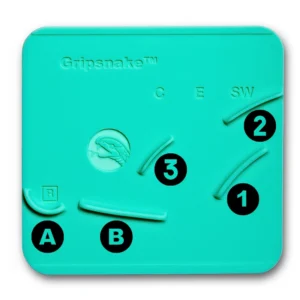
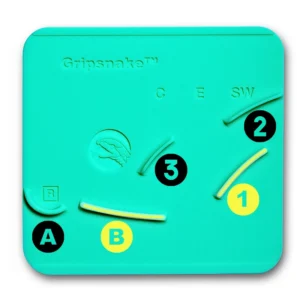
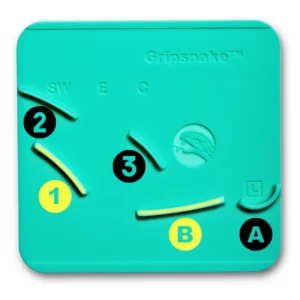
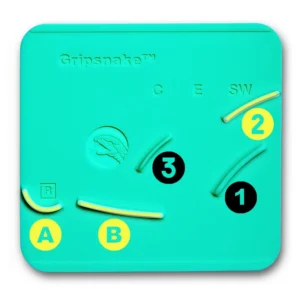
Supported grips include the Semi-Western (SW), Eastern (E), Continental (E), and Eastern Backhand (EB). These can be used for forehands (SW), double-handed backhands (C) and single-handed backhands (EB), serves (C), volleys (C), and touch shots (C). The Western forehand grip is not directly supported given that it’s not suitable for most players. However, you can adjust Gripsnake’s position horizontally to cover even the Western grip.
Gripsnake is for players of all levels and ages who want to:
Build consistent grip habits
Improve technique and timing
Enhance control, power, and spin
Train more effectively, solo or with a coach
It’s especially helpful for recreational and club players, juniors, and intermediate players looking to change or switch between grips.
Gripsnake is designed to fit standard junior and adult tennis rackets. It works with most grip shapes and sizes (typically L1–L5). Individual hand sizes differ, and in some cases small adjustments in positioning might be needed.
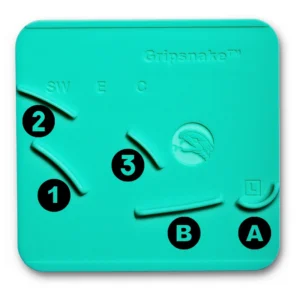
We got you covered. Gripsnake is available in both right-handed and left-handed versions. In fact, our founders are left-handed.
Your racket will be slightly heavier (app. 0.4 oz / 12 grams). Most players don’t notice the difference. You might even appreciate the added stability and plow through that some added weight can offer.
Gripsnake is made from thin and soft silicone that gives subtle tactile feedback without feeling bulky or uncomfortable.
It does affect your swing in the sense that it improves your swing path and angles, but that’s exactly what you want!
Gripsnake is designed to stay in place during rallying or drills. It’s perfect for training sessions, basket drills, friendly games, and technique work. It can also be used for match play, although you have to make sure that its use is allowed under the applicable rules.
It’s so easy. Just follow our 4-step process:
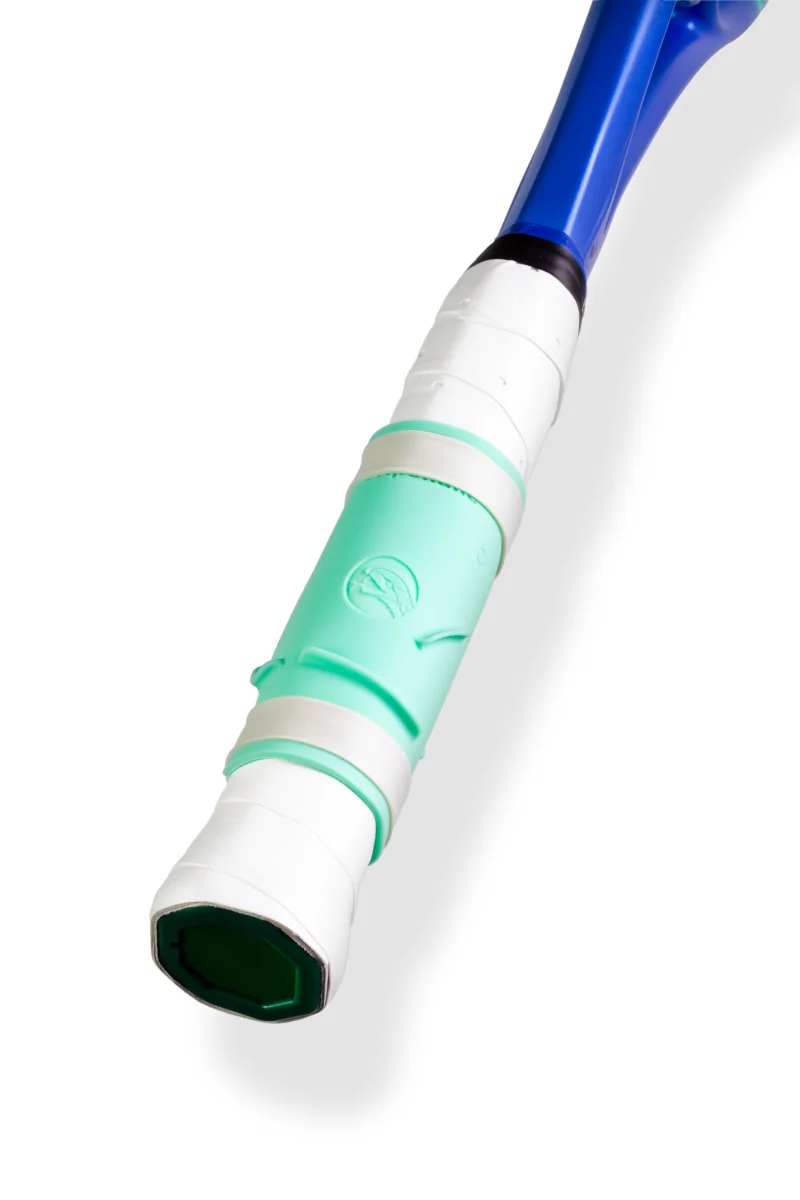
Attach the two included elastic bands towards the racket throat and bottom of the racket handle.
Wrap Gripsnake around the handle with the snakehead logo on the top bevel.
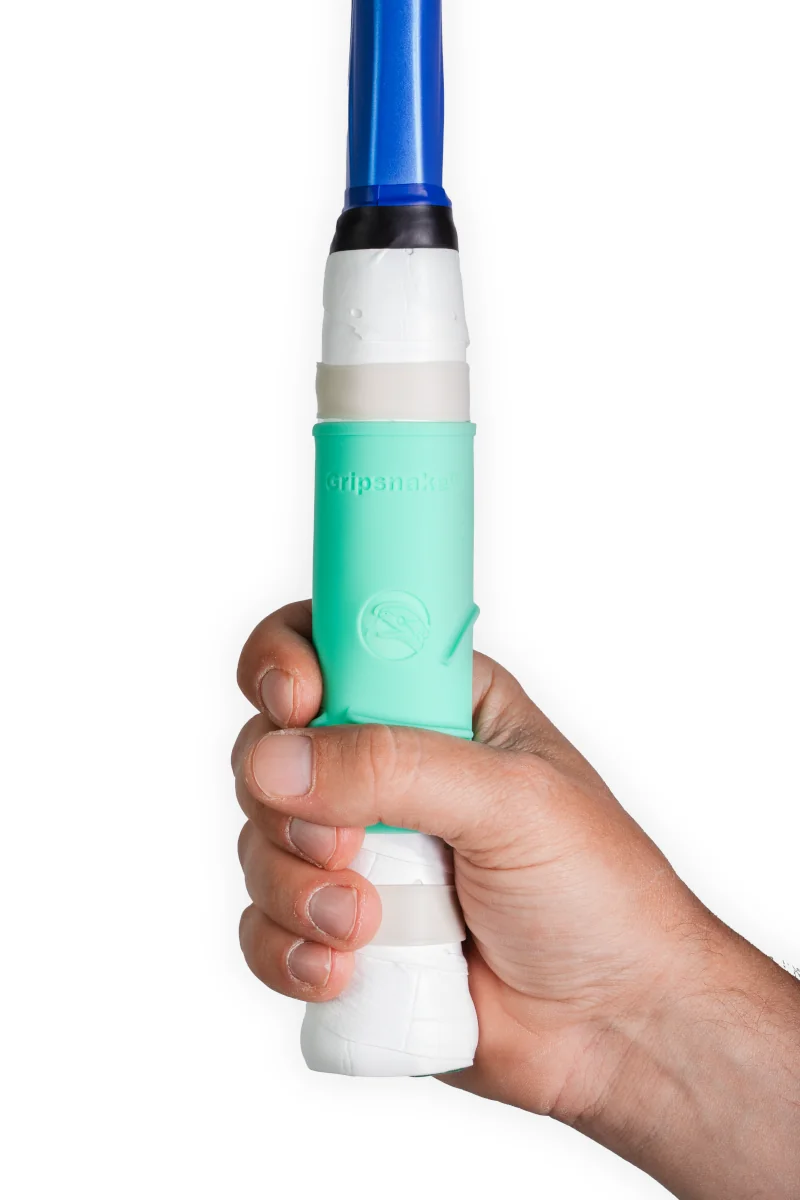
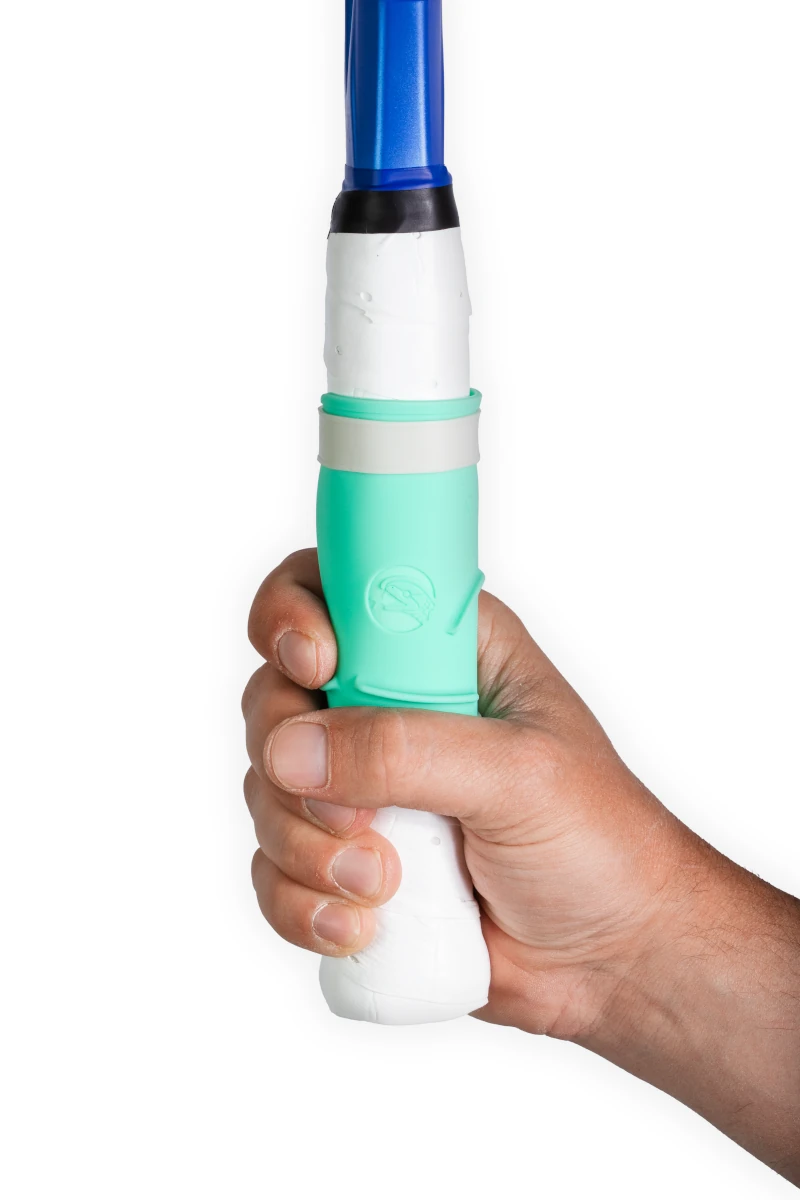
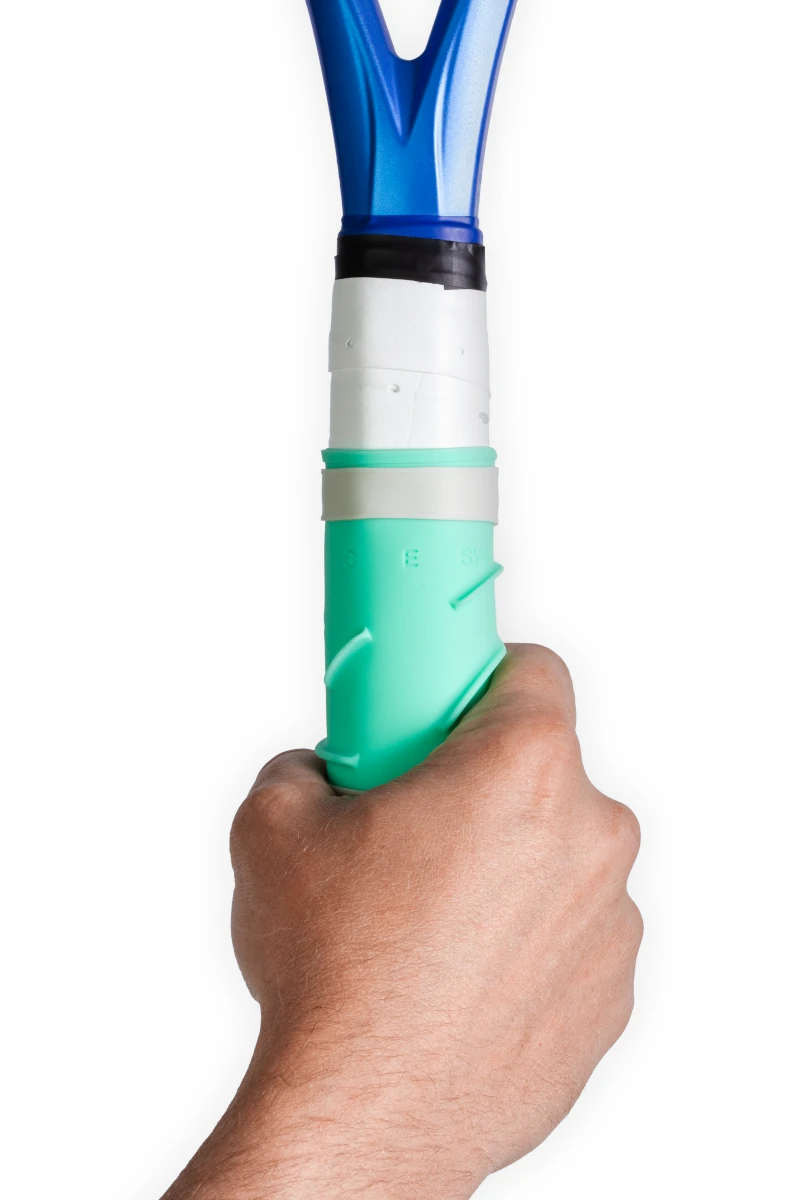
Position Gripsnake vertically. When you grip your forehand, your pinky should wrap around the handle bottom.
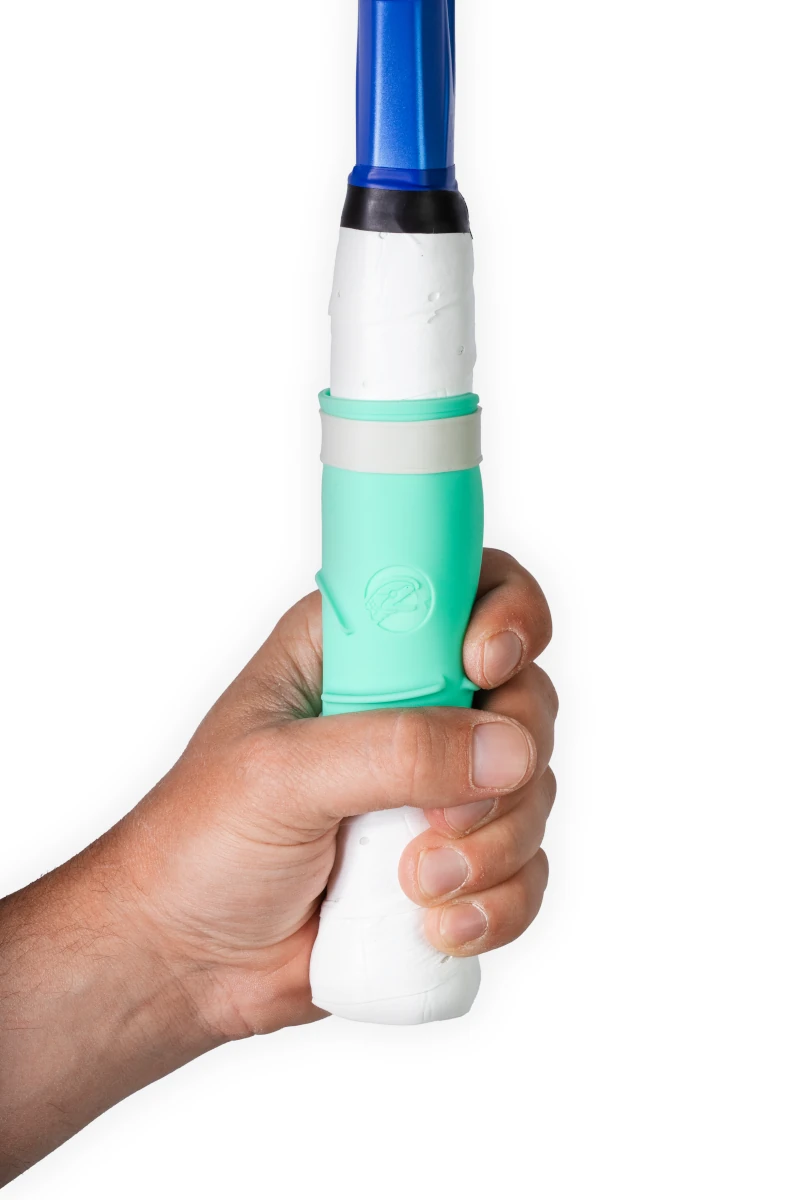
- Secure the Gripsnake’s top and bottom edges with the elastic bands.
Done!
Gripsnake is fully reusable. Just unwrap and store it when not in use. Please avoid stretching it excessively.
No problem. Once Gripsnake is installed, you can wrap your favorite overgrip around it, if you prefer. You will still feel the ridges.
Not at all. Gripsnake is gentle on overgrips and replacement grips.
Most players will see and feel immediate results, especially. In particular, after a short adjustment period, you will notice a dramatic increase in power and spin on your forehand.
Everybody is different, but players usually see lasting effects and muscle memory after a just few weeks of use.
Oh, definitely.*
(*As long as you also train like a beast, eat like a sports scientist, meditate like a monk, and maybe make a deal with the tennis gods. Gripsnake won’t guarantee Centre Court, but it will help you hold your racket like a future legend.)
Yes. We’re not saying it made him a Grand Slam champ, but we’re also not not saying that.